
Everyone loves before and after shots – they are so telling, dramatic and fun to compare. How about during? This week, we are nearing completion of a project that has been in the works for the past few months. Not quite finished, here is a little story about the stages of the design process…
Are YOU planning a remodel…a room an entire house?
Once a project is identified, the options are studied. Usually each party involve has their preconceived notions…images and ideas come to mind. The mind is that arena from which it is tough to articulate images and especially between people. The design process requires that ideas need to be expressed, defined and argued – pros and cons.

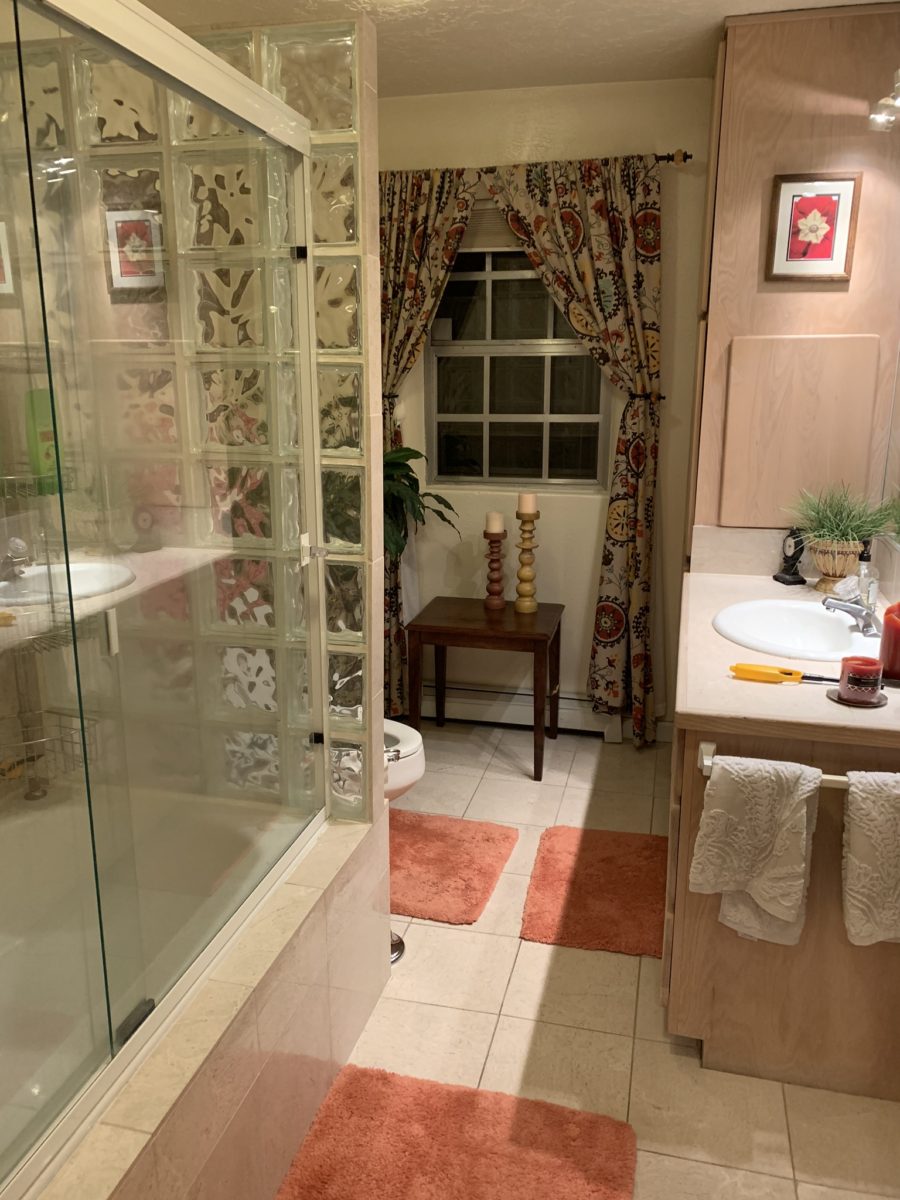
The scope of work was to remove the tub, replace the cabinets, add a second sink and create an opening into the guest room. At that point, the “what ifs” began.
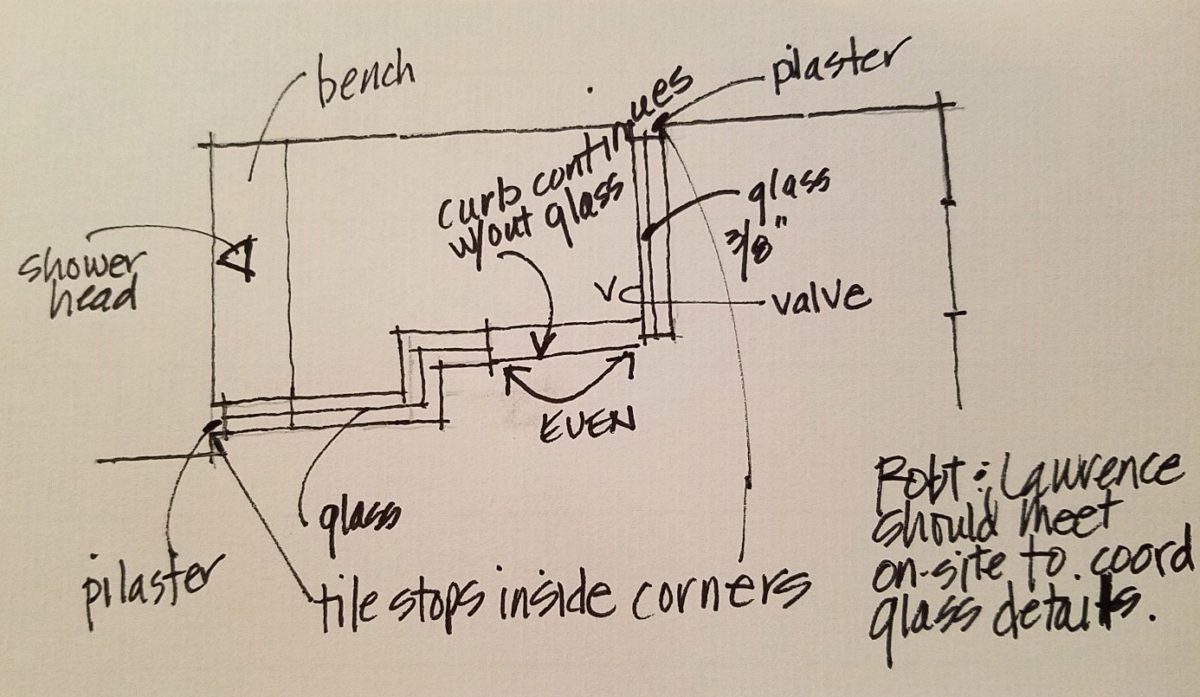
Healthy arguing ensues – meaning sharing ideas back and forth, explaining the approach and concepts. More like presenting than arguing. It’s actually a fun, creative process – full of choices, ideas and seemingly limitless opportunities. It’s the “What if…” stage. Sketches are used, arm-waving and samples, photos and words all contribute to the compilation of the ultimate design. Each person contributes to the process until a common plan is adopted.
Whether formal plans are needed depends upon the code requirements, if applicable (“cosmetic only” changes requiring no modifications to structure, electrical or HVAC – for example – might not need formal drawings). Therefore, the development of documents is dependent upon the requirements of the municipality and/or methods of the contractors. Regardless, sketches begin the process.
If code requirements necessitate permitting, the process must proceed through that stage prior to commencing the work. So after weeks of ideas being tossed about, a plan was conceived, client approved drawings were made and the process moved forward.
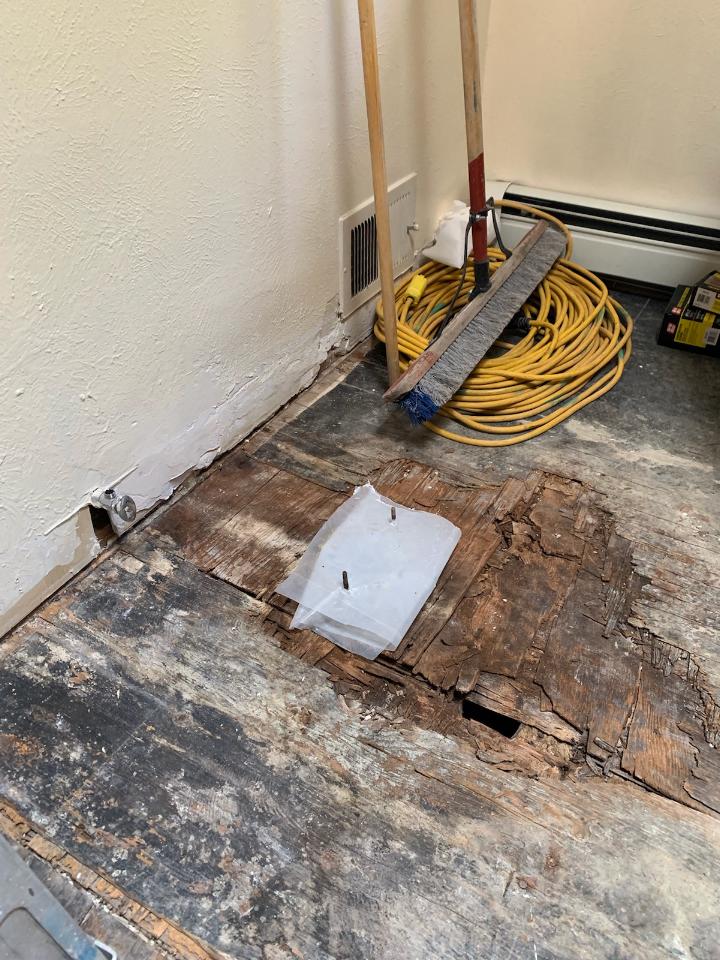
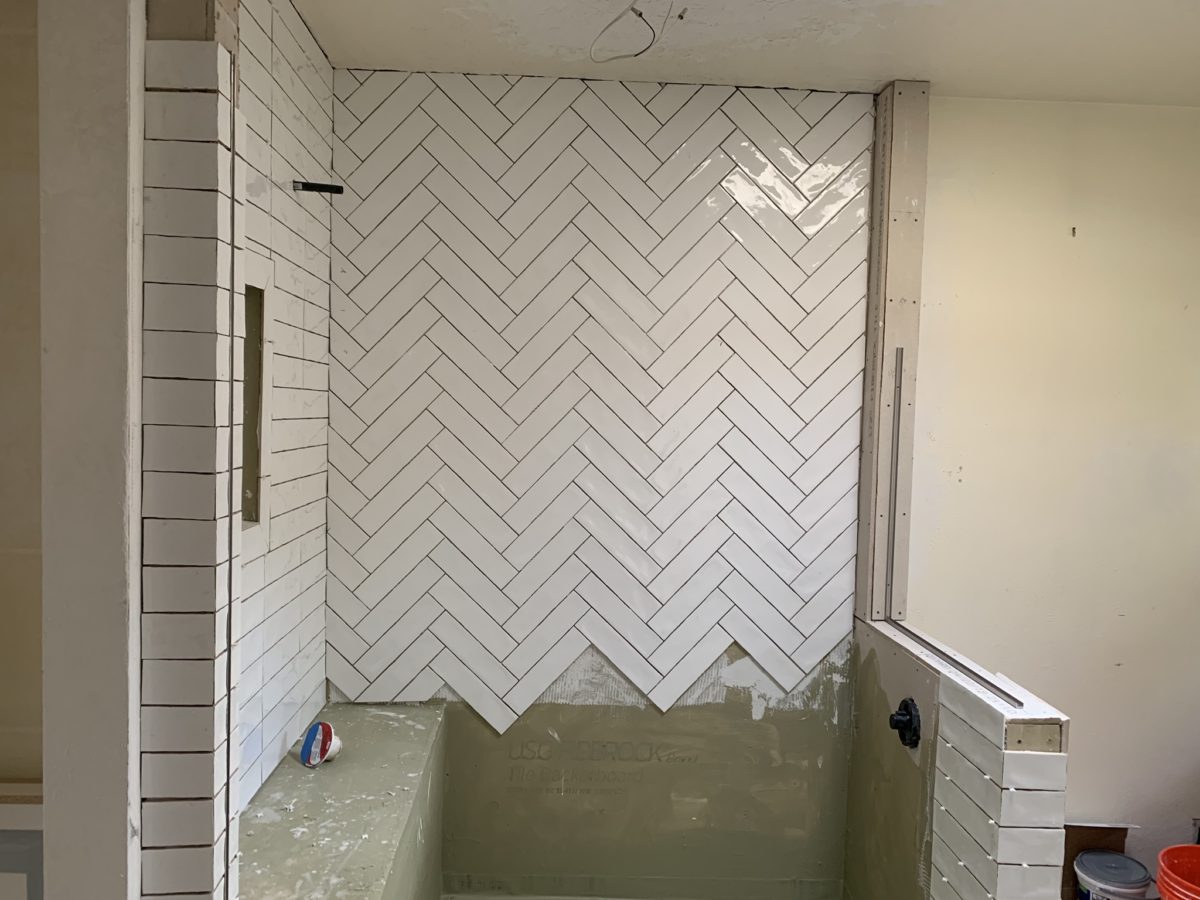
The demolition – always a shock – but “you have to break and egg to make an omelet!” Unbeknownst to anyone, the floor was rotted beneath the toilet and required repair. Mirror, glass block, tile and much sheet-rock was removed.
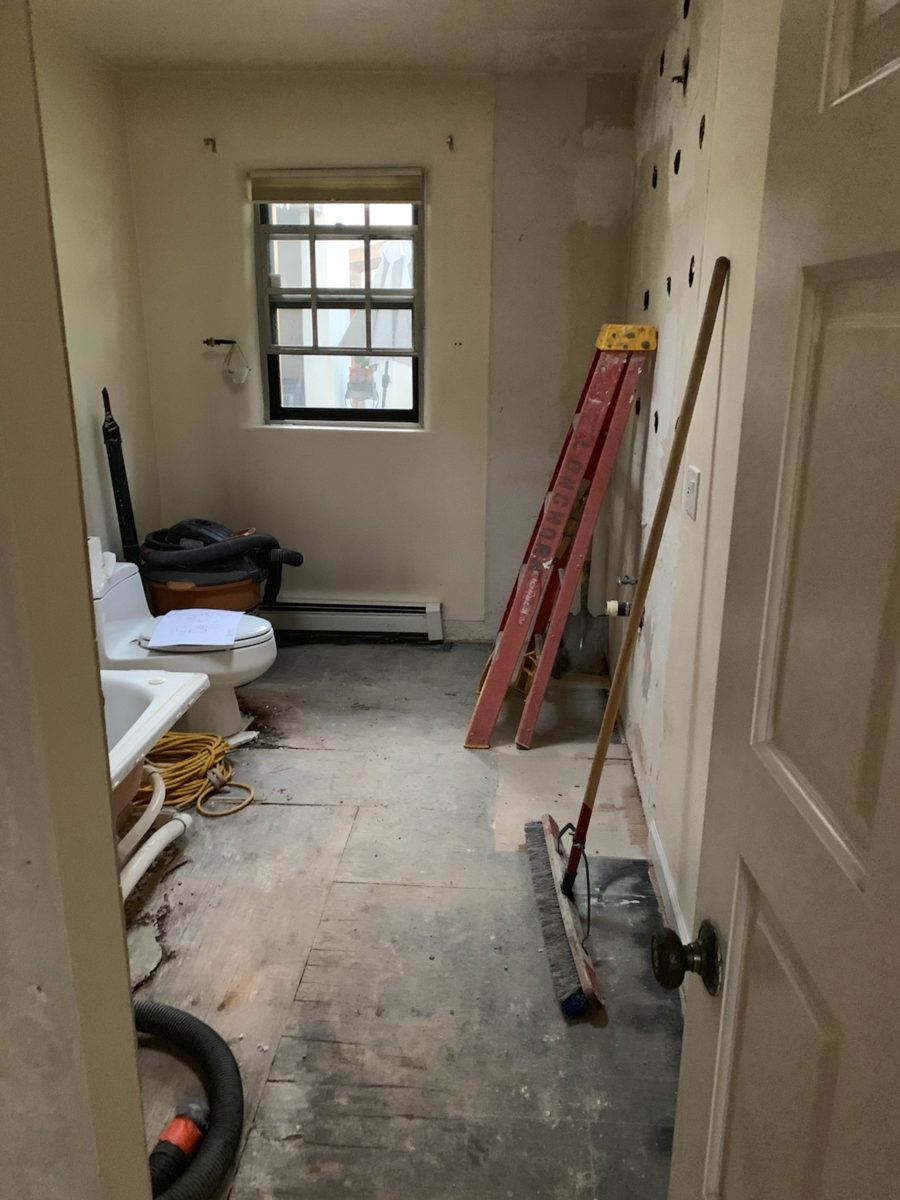
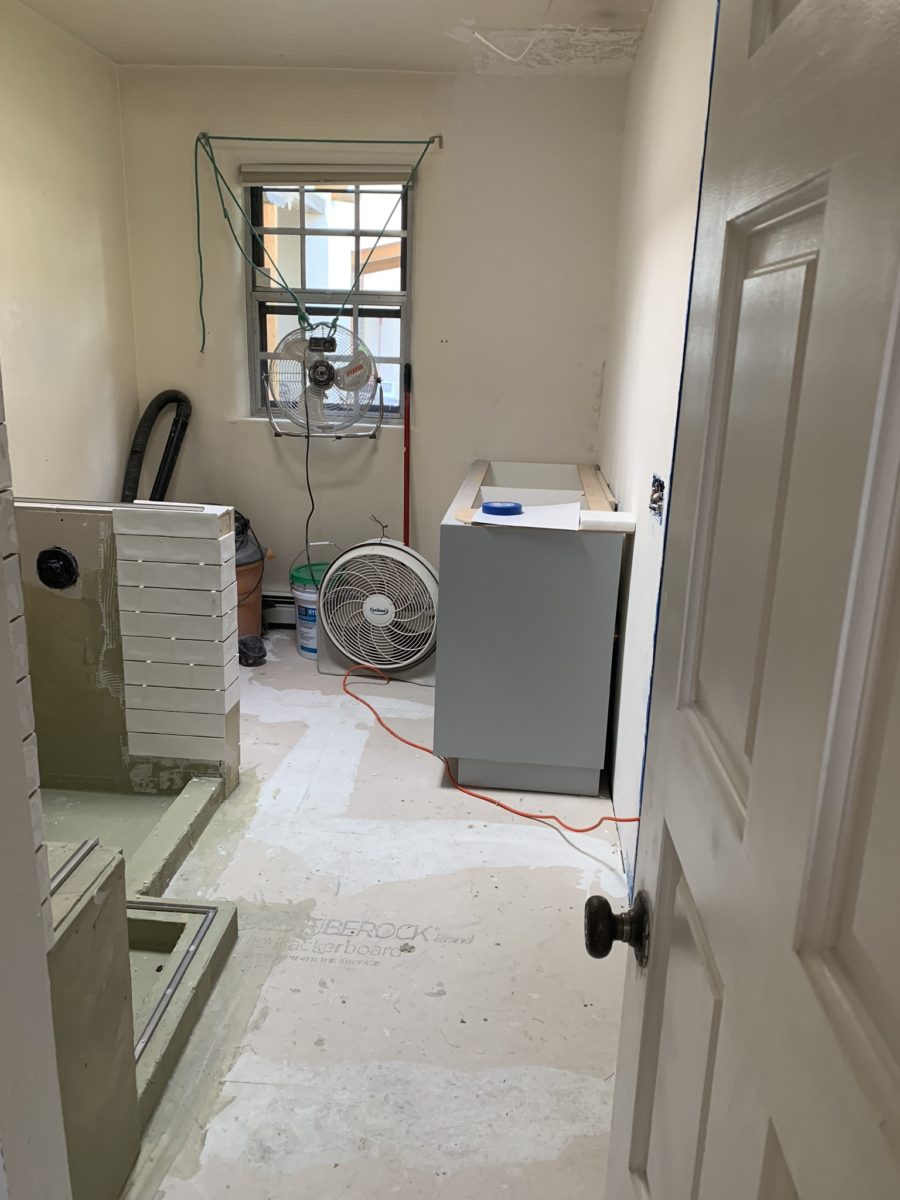
Old cabinets were removed and after all the dust had settled, the bare bones exposed and a clean slate presented, the new work began.

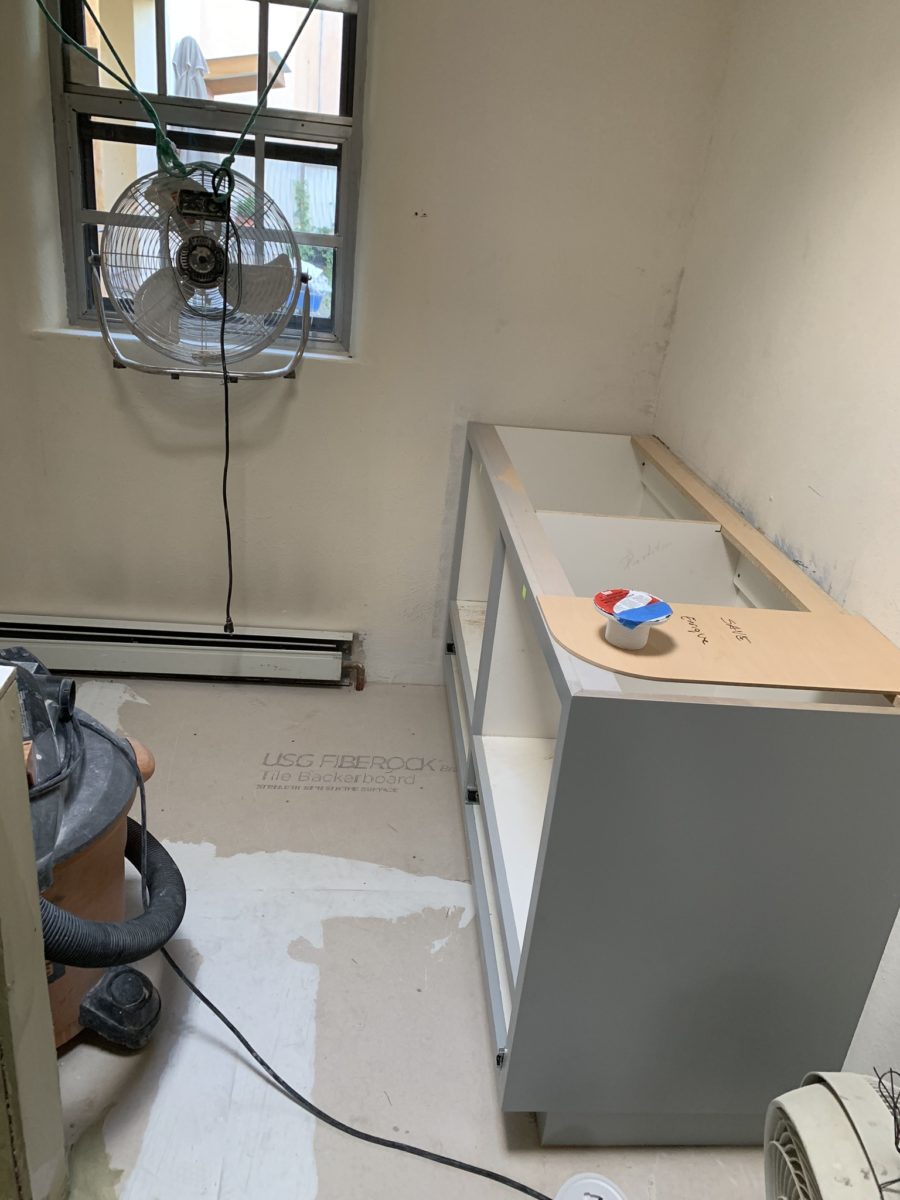
The new cabinets were to accommodate a second sink and slightly longer counter-top. To make sure access between the shower and counter-top was not too restricted, I designed a radius to ease the squeeze. Enrique made a template of the radius that would be represent his end shelving and counter-top. When Rocky Mountain Stone arrived to shoot their lasers to measure for their templates, the radius template Enrique had made was very helpful.
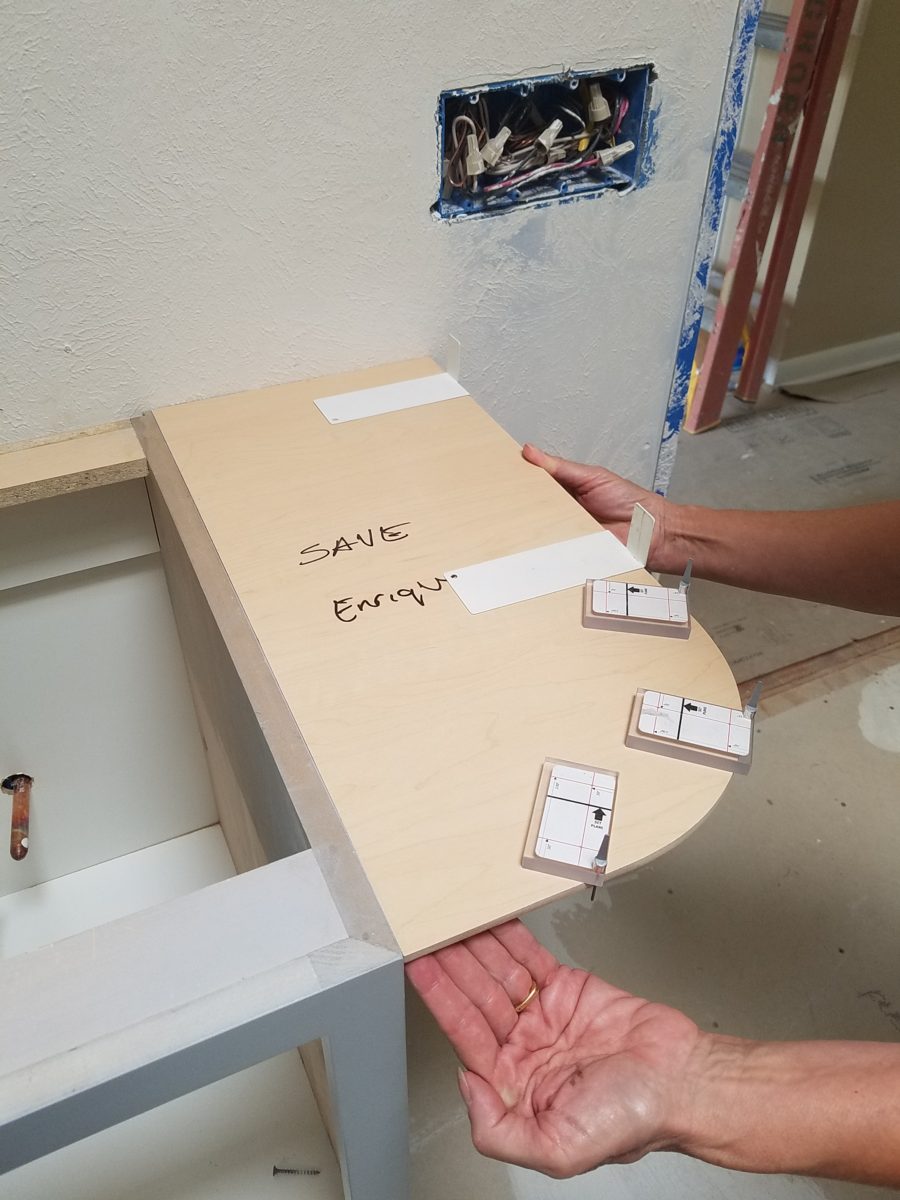
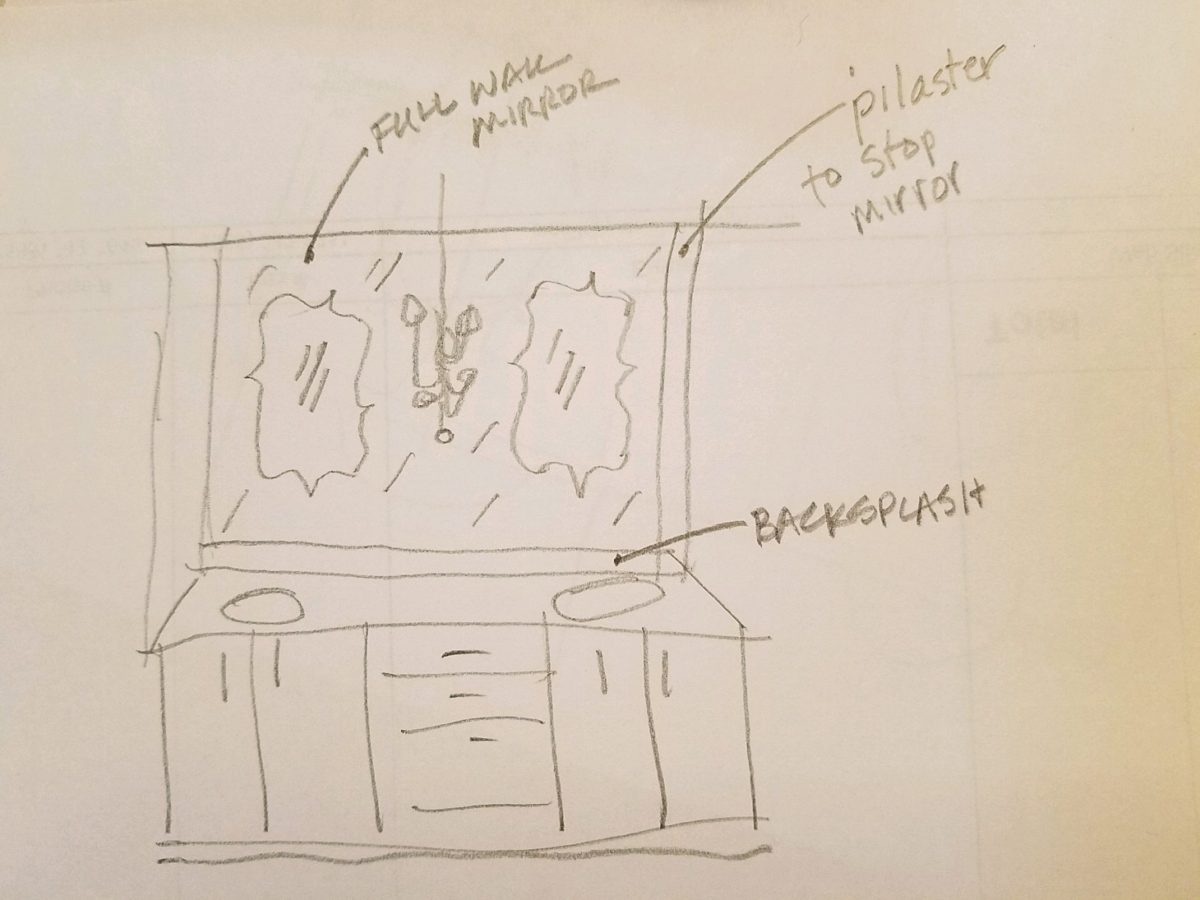
Decisions regarding lighting had not been finalized, with the completion of the plans. Having eliminated the desire to have recessed fixtures, whether to use a center sconce, two flanking sconces or a single pendant in the center between the sinks was still up in the air. Love the pun! Debating a full height panel of mirror versus two wall hung framed pieces, was also undecided.
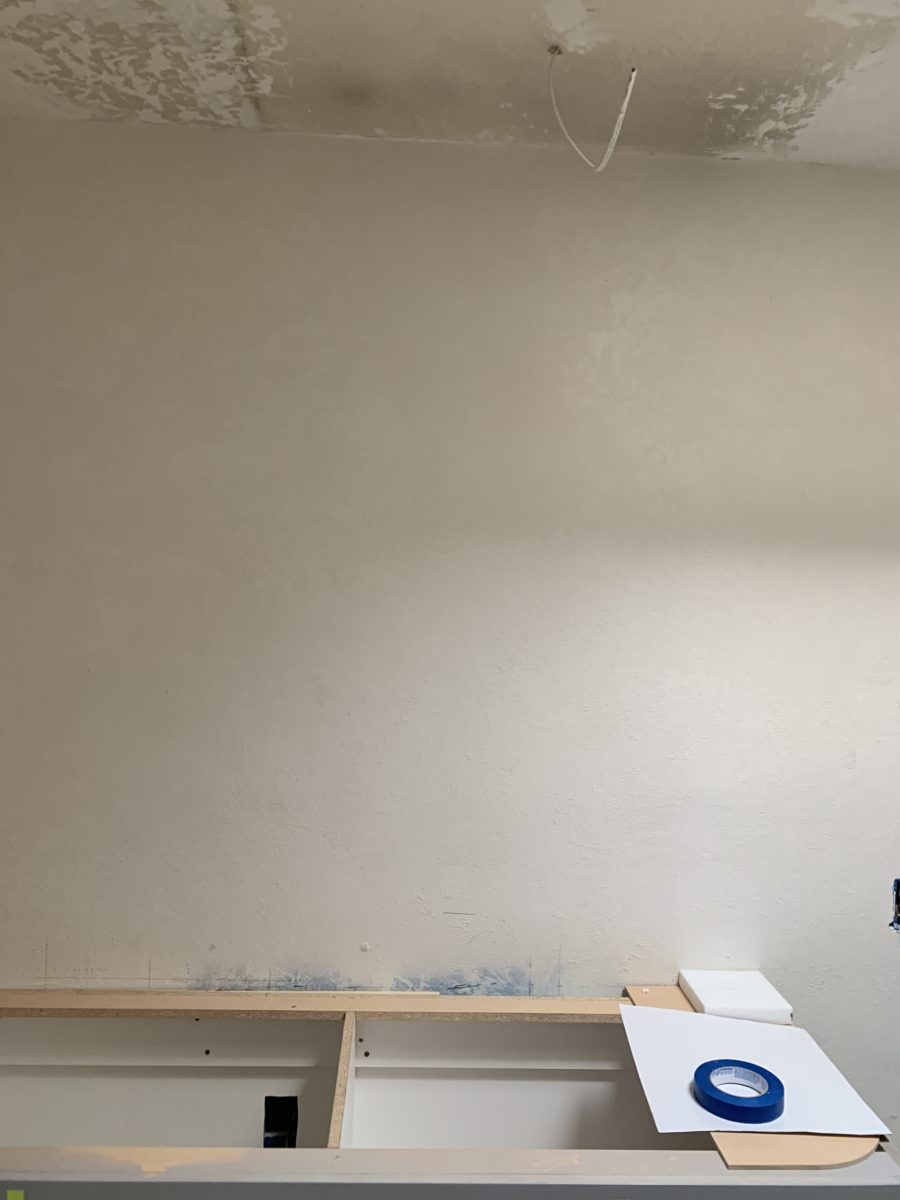
Taking the risk to be disappointed, but with little investment to do so, our client elected to buy the two curvy framed mirrors that almost promised to be too small. Upon arrival one of the two mirrors were broken. Bummer.

But in an effort to determine if we wanted to have the broken mirror replaced or refunded. We held it up on the wall, as we feared, it was confirmed that they could not carry the space. We asked that the company not replace the broken mirror, but refund the cost.
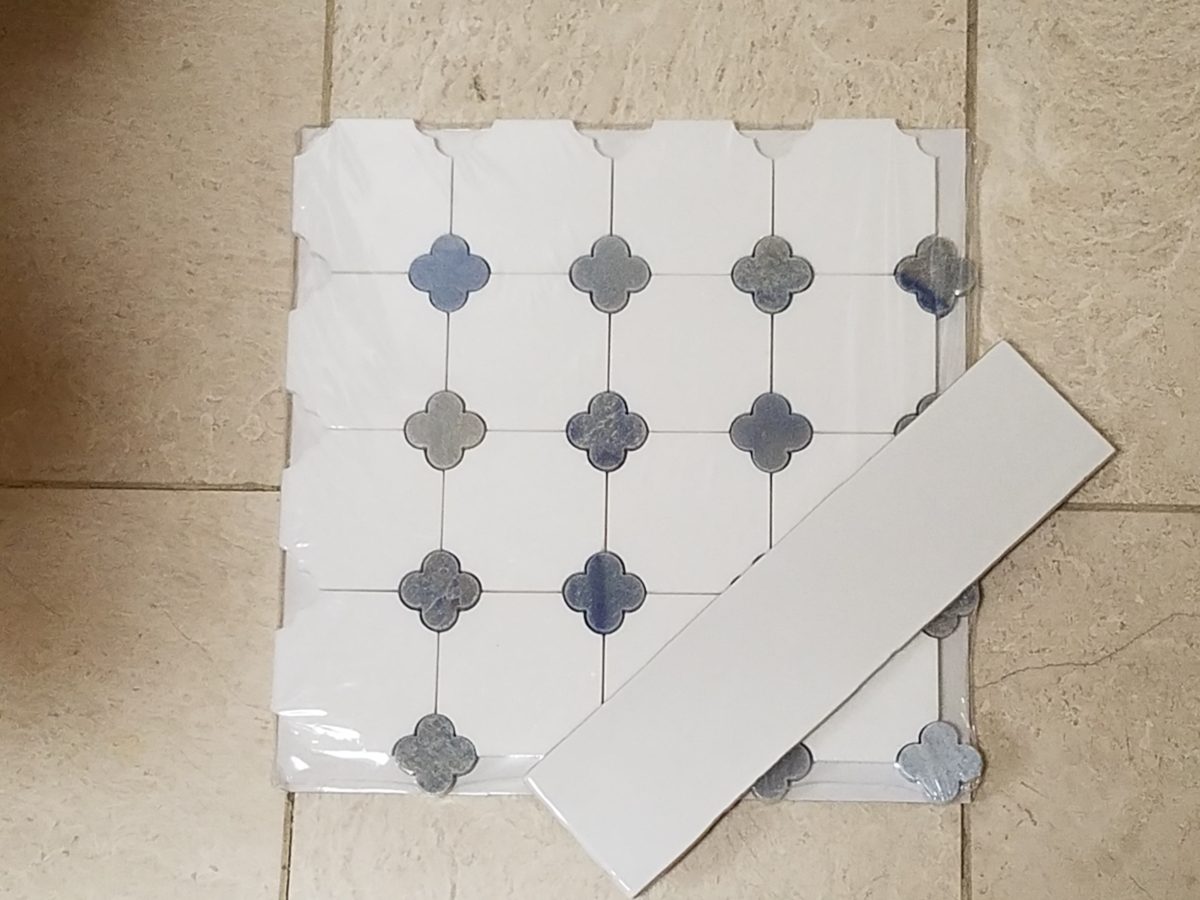
We really loved the whimsical quality of the curvy framed mirrors and their distressed turquoise finish was a great addition to the otherwise blue and white scheme. So, a week later, after pondering the dilemma of the mirrors…I offered what seemed to be a radical suggestion (but not really), and that was to install a full-panel wall mirror – backsplash to ceiling – and then mount (over it) the two mirrors. To do so, our very able and talented glass master, Robert, would have to cut (prior to installing) holes in the mirror panel located behind where the framed mirrors were prepared for hanging. The result would be the pair of mirrors hanging on top of the full panel creating a floating, multi dimensional effect. Watch for “afters” in a couple weeks, of this completed installation.
As the project proceeds, the flooring is nearly completed and all but the finishing touches remain.
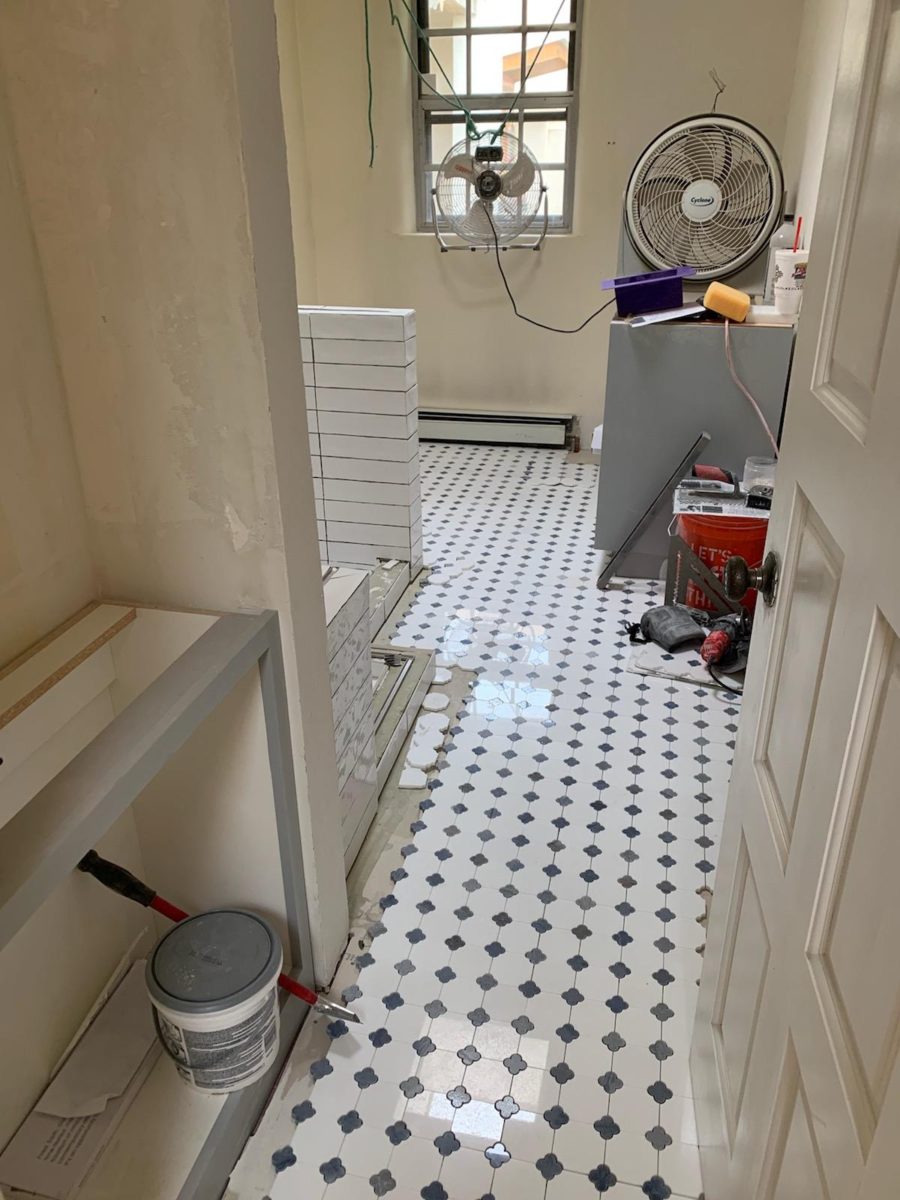
Best to stop here and reserve the finale for the finished “after” shots as promised.
